2725 Park Dr, Suite 1, Clearwater, FL 33763
If you’ve ever wondered what happens to your natural teeth during veneer placement in Clearwater, you’re not alone. Many patients feel nervous about the process before fully understanding it. Dr. Jason Kopakin at Boulevard Dental of Clearwater walks every patient through each step. This article explains exactly what to expect, from your first consultation to your final bonded smile.
Your Veneer Consultation: Where the Process Begins
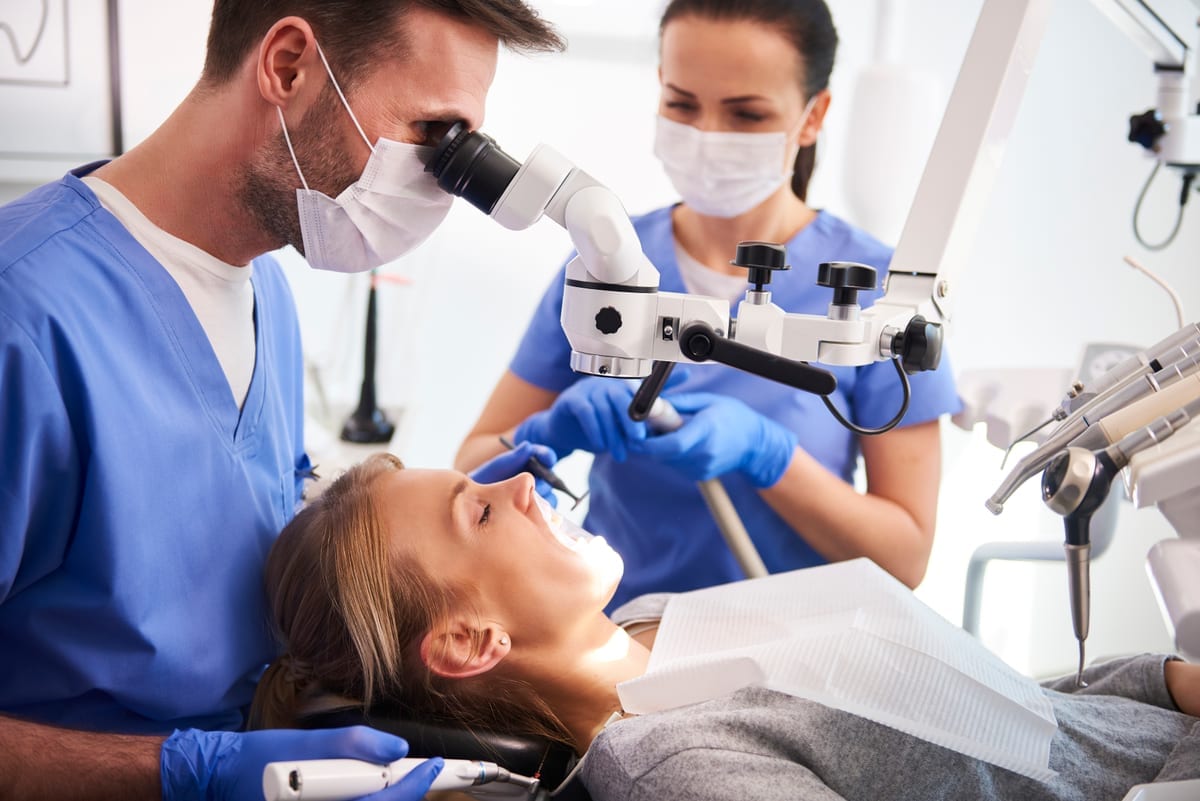
The veneer journey starts with a thorough consultation. Dr. Kopakin evaluates your teeth, gums, and bite to determine whether veneers are the right fit. He also reviews your smile goals and discusses the final look you want to achieve. This step shapes every decision that follows.
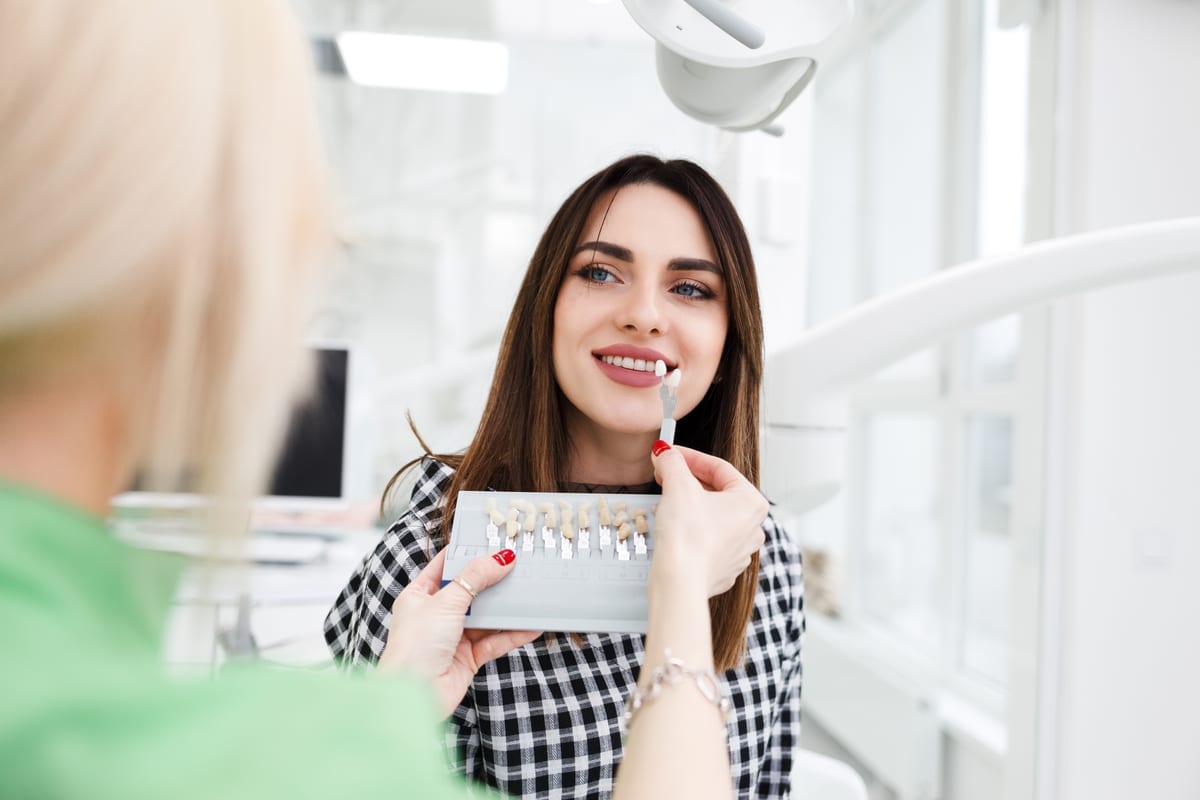
During the consultation, tooth shade is also addressed. You and Dr. Kopakin review shade guides together to select the most natural-looking color. Clearwater patients often want a bright, sun-ready smile that still looks realistic. Shade selection at this stage helps set realistic expectations for the final result.
X-rays or digital scans may also be taken at this appointment. These images help confirm that your teeth and roots are healthy enough to support veneers. If any underlying issues exist, they are treated before moving forward. Rushing this step could compromise your long-term outcome.
What Happens to Your Natural Teeth During the Preparation Phase in Clearwater
This is the step most patients ask about first. To place veneers, a small amount of enamel must be removed from the front surface of each tooth. This creates space for the veneer shell to sit flush with surrounding teeth. The amount removed is typically around 0.3 to 0.5 millimeters — about the thickness of a contact lens.
Enamel removal is permanent. That’s why it’s important to feel confident in your decision before moving forward. Once the enamel is shaped, your teeth will always need to be covered with a restoration. Dr. Kopakin takes this responsibility seriously and explains it clearly to every patient.
This preparation also gives the veneer a better bonding surface. A roughened enamel surface allows the dental adhesive to grip more effectively. The result is a stronger, longer-lasting bond. Proper prep work is the foundation of a successful veneer outcome.
- A thin layer of enamel is carefully removed from the front of each tooth
- Local anesthetic keeps the process comfortable throughout
- Digital impressions or physical molds are taken after shaping
- The shade selected during consultation is confirmed at this stage
- Temporary veneers are placed to protect your teeth until the permanents arrive
The Temporary Phase: Protecting Your Teeth Between Appointments
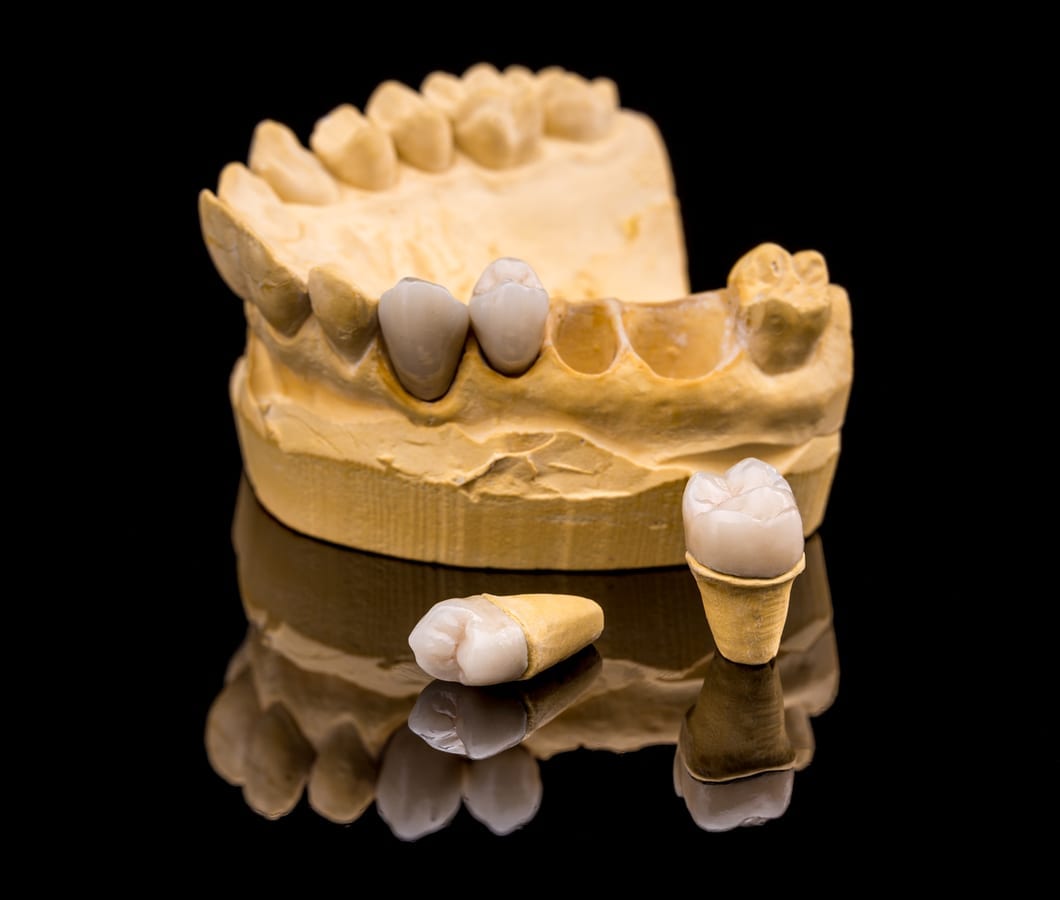
After enamel preparation, your teeth need protection. Dr. Kopakin places temporary veneers made from a composite resin material. These cover your reshaped teeth while the custom porcelain veneers are crafted in a dental lab. This phase typically lasts one to two weeks.
Temporary veneers also give you a preview of your final smile. You can test the feel, shape, and general appearance before the permanent restorations are placed. If something feels off, feedback at this stage is valuable. Small adjustments can still be made to the final design.
During the temporary phase, some dietary caution is advised. Avoid very hard, sticky, or crunchy foods that could dislodge the temporaries. Tooth sensitivity to hot and cold is also common at this stage. This is normal and typically resolves once the permanent veneers are bonded.
Final Bonding: Placing Your Permanent Veneers
Once the dental lab completes your custom veneers, you return for your final appointment. Dr. Kopakin removes the temporary veneers and thoroughly cleans your teeth. Each permanent veneer is then tried on individually before bonding begins. This trial placement confirms fit, color, and bite alignment.
If the fit is perfect, a special dental adhesive is applied to the veneer. A curing light activates the bonding agent and hardens the adhesive within seconds. Excess cement is carefully removed from the edges. Then the bite is checked and refined if needed.
Here’s a quick overview of what the final bonding appointment involves:
- Temporary veneers are gently removed
- Teeth are cleaned and etched to improve bonding
- Each veneer is placed and checked for fit and shade
- Dental adhesive is applied and cured with a light
- Bite adjustments are made for comfort and function
- Final polishing completes the appointment
Most patients leave this appointment amazed at the transformation. The veneers feel natural and blend seamlessly with surrounding teeth. Proper care — including regular brushing, flossing, and dental checkups — helps veneers last ten to twenty years. At Boulevard Dental of Clearwater, aftercare guidance is always part of the final appointment.
Are Veneers Right for You? Key Considerations
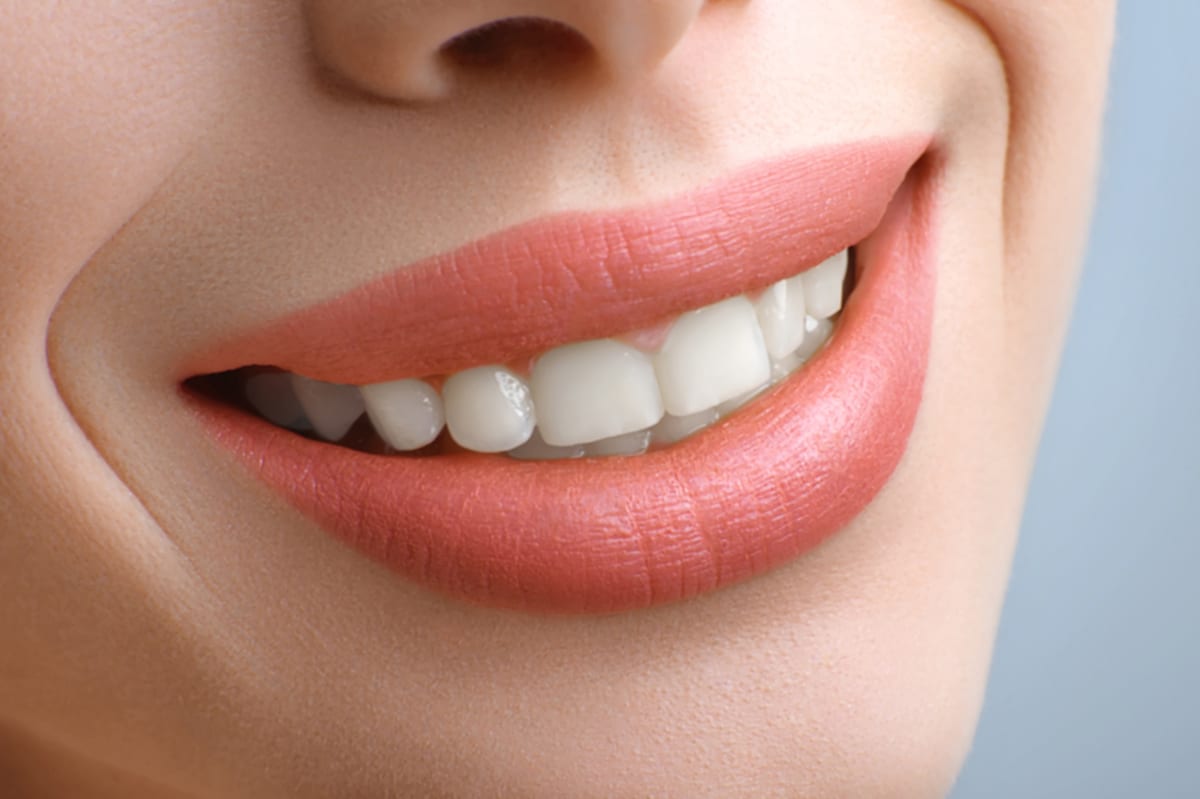
Veneers work best for patients with healthy gums and sufficient enamel. They are an excellent solution for chips, stains, minor gaps, and uneven teeth. However, they are not ideal for patients with active gum disease or significant bite issues. A thorough evaluation with Dr. Kopakin helps determine the best path forward.
Patients interested in Cosmetic Dentistry Clearwater options often find veneers to be a life-changing choice. They offer a dramatic improvement with minimal discomfort. The process is well-tolerated by most patients, especially with modern techniques and local anesthesia. Boulevard Dental of Clearwater makes patient comfort a top priority throughout every phase.
It’s also worth knowing that dental emergencies can occasionally arise after veneer placement. If a veneer chips, cracks, or comes loose, prompt care is essential. The team at Boulevard Dental offers Emergency Dentistry Clearwater services to address these situations quickly. You’re never left without support after your procedure.
Veneers are a long-term investment in your confidence and oral health. Understanding every step helps patients make informed, empowered decisions. Dr. Kopakin and the team at Boulevard Dental of Clearwater are here to guide you every step of the way. Book Now to schedule your appointment with our team.
Frequently Asked Questions
Does veneer placement hurt?
Most patients experience little to no discomfort during the procedure. Local anesthesia is used during the enamel preparation phase to keep you comfortable. Some sensitivity to hot and cold is normal during the temporary veneer phase. This typically resolves once the permanent veneers are bonded in place.
How much enamel is actually removed for veneers?
Dr. Kopakin removes approximately 0.3 to 0.5 millimeters of enamel from the front surface of each tooth. This is a very thin amount, roughly the thickness of a contact lens. The goal is to create just enough space for the veneer to sit naturally. Minimal prep techniques are used whenever possible to preserve tooth structure.
Can I choose the shade of my veneers?
Yes, shade selection is a collaborative process at Boulevard Dental of Clearwater. You and Dr. Kopakin review shade guides during the consultation to find your ideal color. The shade is confirmed again during the final bonding appointment. The goal is a result that looks bright, natural, and flattering for your complexion.
How long do porcelain veneers last?
With proper care, porcelain veneers can last anywhere from ten to twenty years. Regular brushing with a non-abrasive toothpaste and routine dental cleanings help maintain them. Avoiding habits like nail biting, chewing ice, or grinding your teeth also extends their lifespan. Dr. Kopakin provides detailed aftercare instructions at your final appointment.
What happens if a veneer falls off or chips?
If a veneer becomes loose or chips, it’s important to contact your dentist promptly. Do not try to reattach it yourself. Boulevard Dental of Clearwater offers emergency dental services for situations like this. Dr. Kopakin will assess the veneer and determine whether it can be rebonded or needs to be replaced.